How to Prepare Your Windows for Blind Installation
Preparing your windows properly before installing blinds is one of the most important steps in achieving a polished, functional, and long-lasting result. While blinds may seem like a simple addition, the condition of your windows and surrounding areas plays a major role in how well they fit, operate, and enhance your space. Whether you're upgrading for style, privacy, or light control, taking the time to prepare ensures a smoother installation process and better overall performance.
Many homeowners turn to professional window treatment services to handle the process from start to finish, but even then, understanding the preparation steps can help you make informed decisions and avoid delays. From accurate measurements to surface readiness, proper preparation minimizes errors and ensures your blinds look and function exactly as intended.
Assessing Your Window Space Before Installation
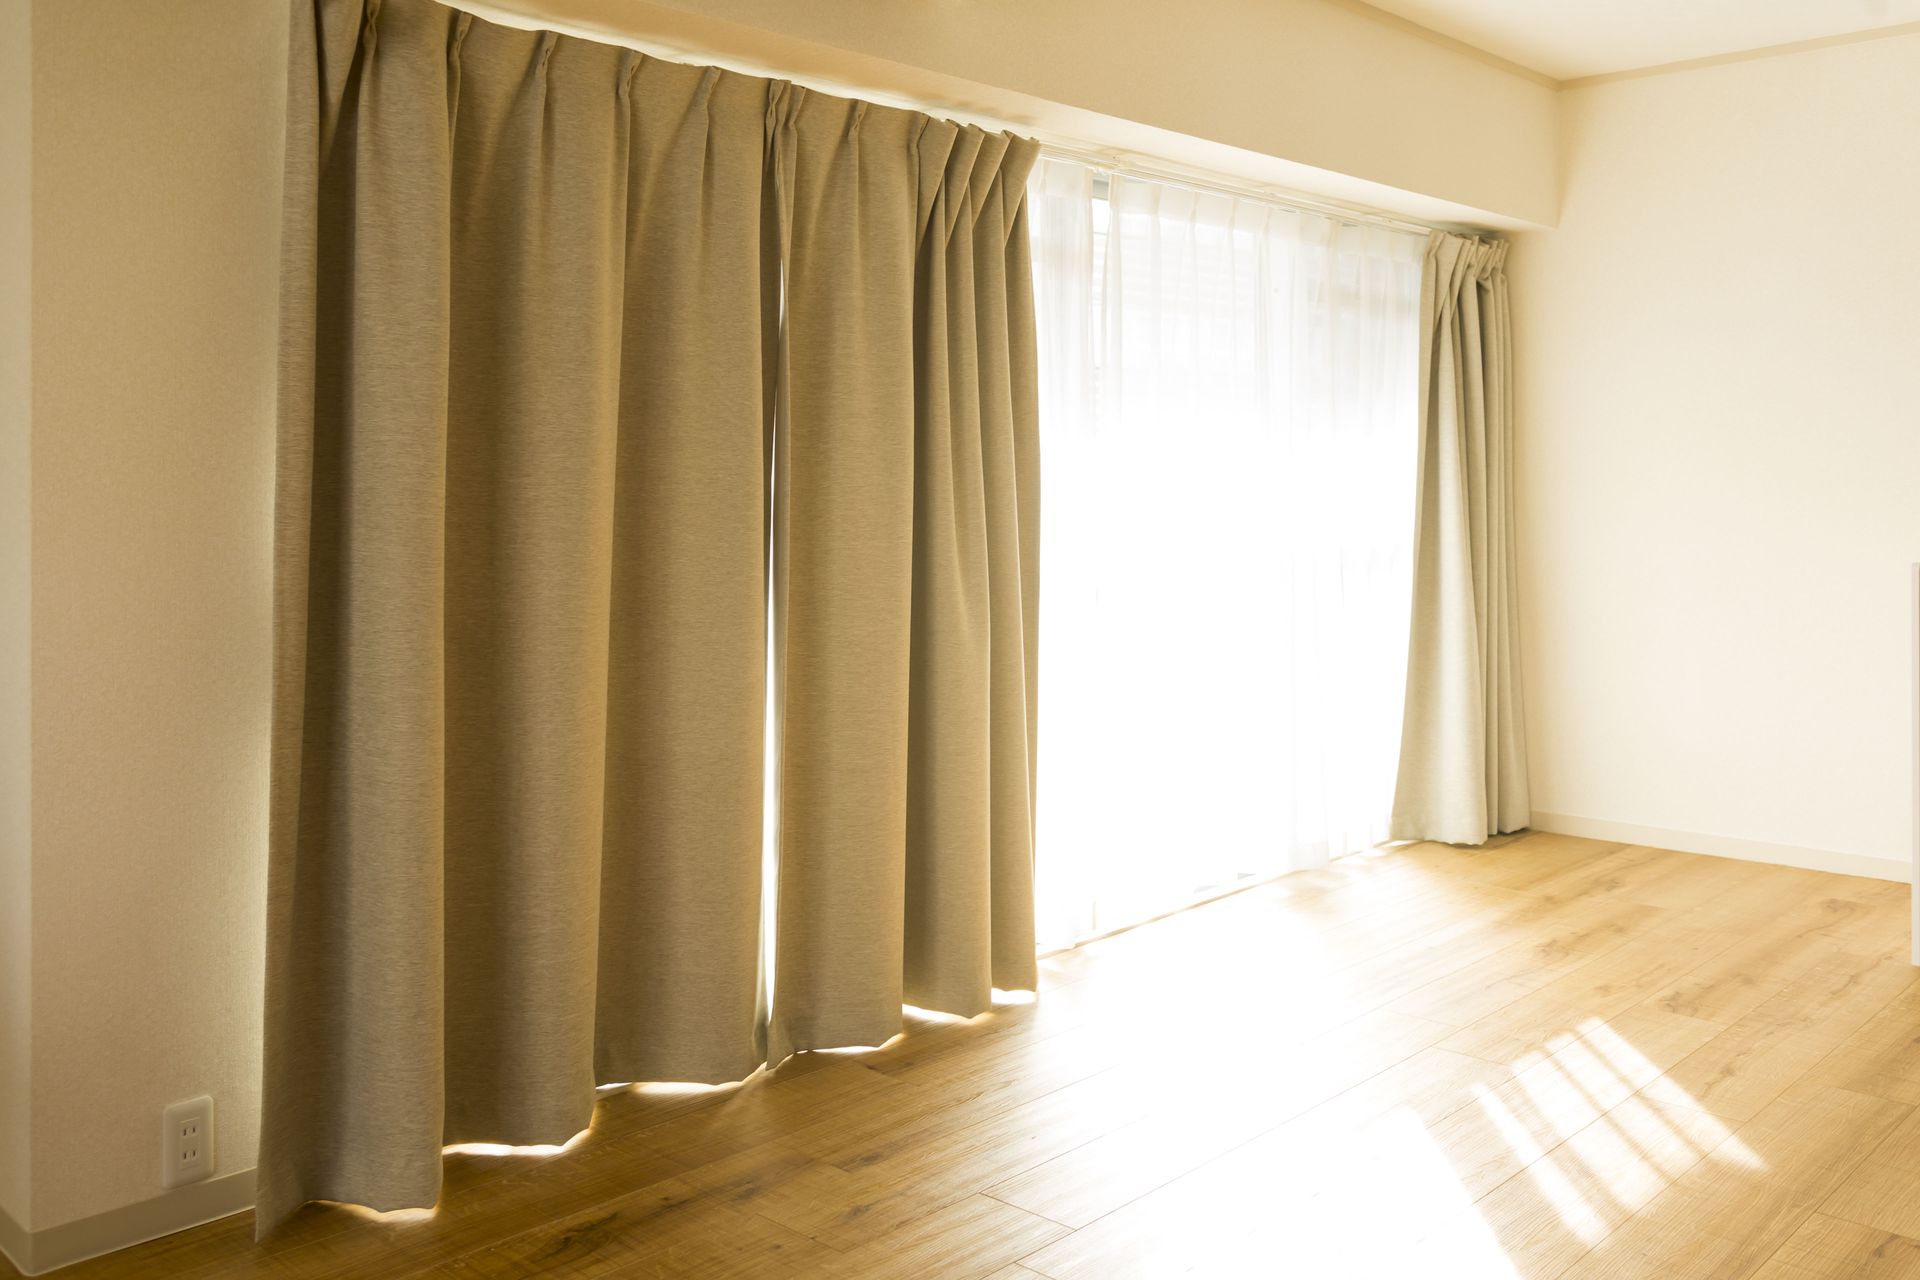
Before installing blinds, it’s essential to thoroughly evaluate your window space. Start by identifying the type of window you have—standard, bay, sliding, or uniquely shaped—since each requires a slightly different approach. Understanding your window structure will guide your decisions about mounting styles and blind types.
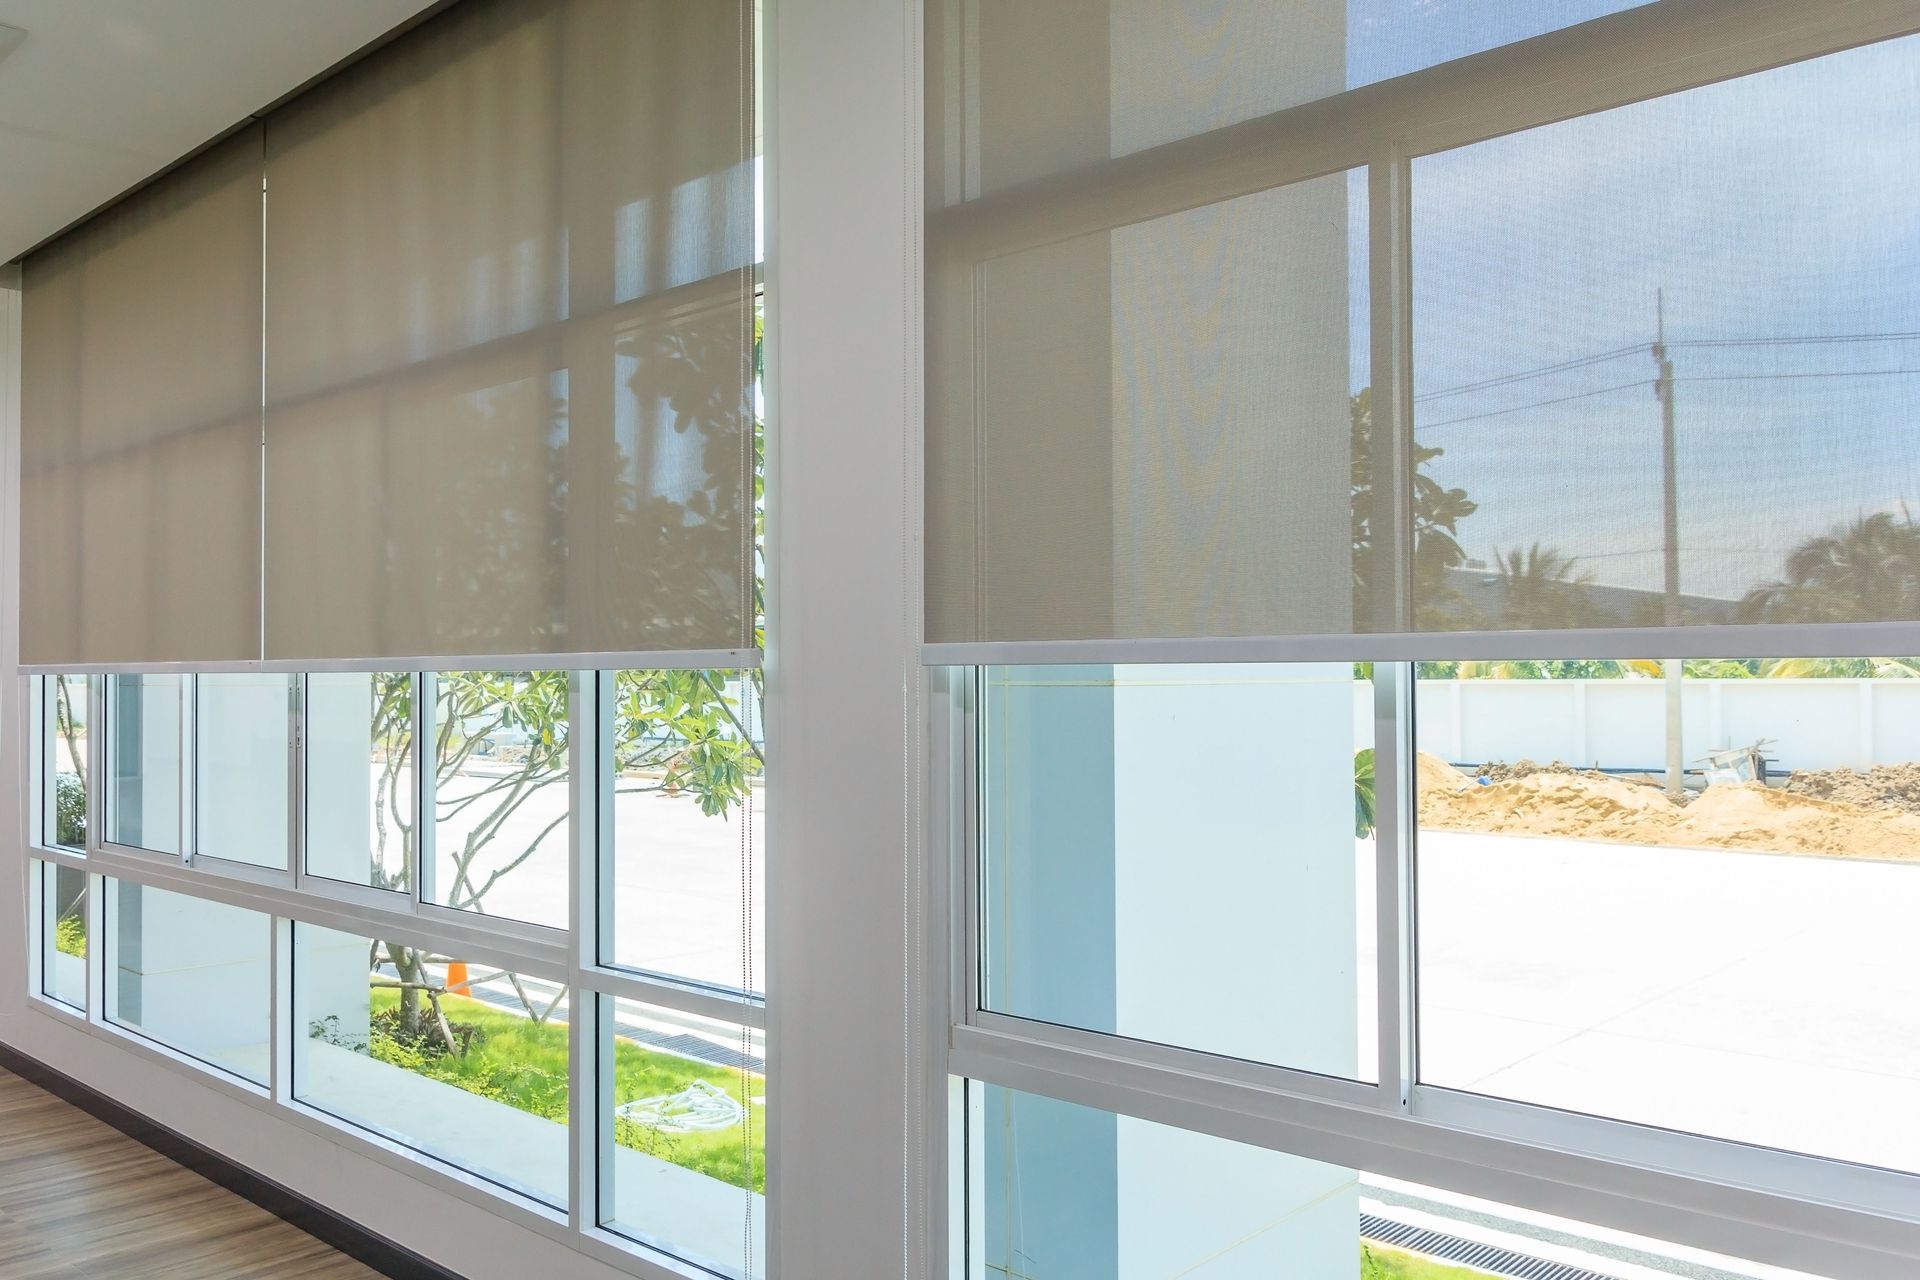
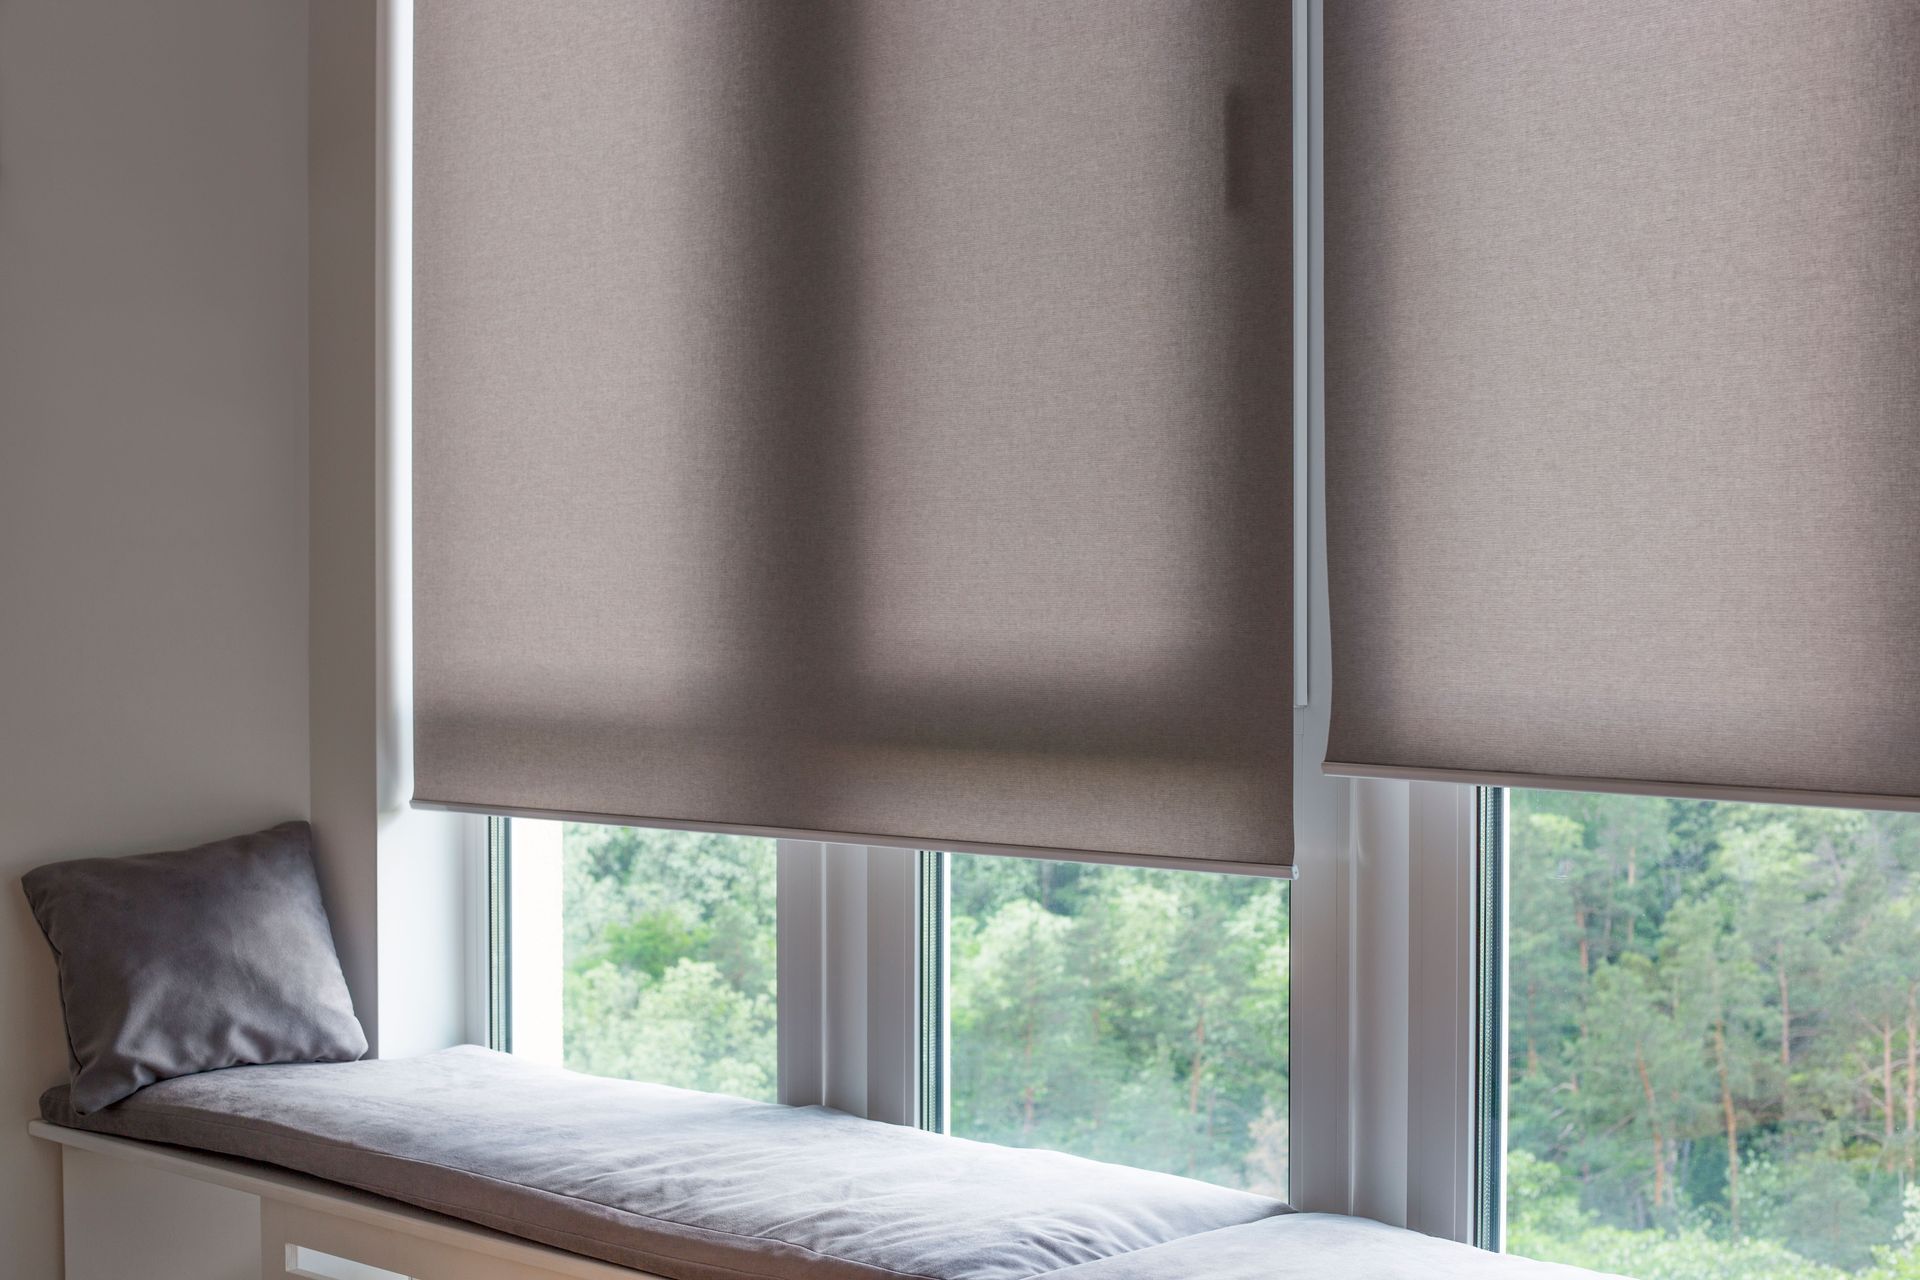
Next, determine whether you want an inside mount or outside mount. Inside mounts sit within the window frame for a clean, built-in look, while outside mounts are installed above or outside the frame to create the illusion of larger windows. Each option has specific measurement and clearance requirements that must be considered early in the process.
Inspect the condition of your window frames and surrounding walls. Look for cracks, uneven surfaces, or damage that could affect installation. Addressing these issues beforehand ensures a secure fit and prevents complications once the blinds are mounted. This is especially important if you’re planning to use window treatment services, as professionals will expect a stable surface to work with.
Finally, take note of any obstructions such as window handles, locks, or nearby fixtures. These elements can interfere with blind operation if not accounted for in advance. By assessing your window space carefully, you set the foundation for a seamless installation.
Taking photos of your windows during this assessment phase can also be helpful. Visual references make it easier to compare options, communicate with installers, or revisit details later in the process. This added step ensures nothing is overlooked and helps maintain consistency across multiple windows in your home.
Measuring Windows Accurately for a Perfect Fit
Accurate measurements are critical when preparing for blind installation. Even small errors can lead to ill-fitting blinds that compromise both appearance and functionality. Begin by using a reliable measuring tape and recording dimensions in multiple places to account for any inconsistencies in the window frame.
For inside mounts, measure the width at the top, middle, and bottom of the window, and use the narrowest measurement. Then measure the height on the left, center, and right, using the longest measurement. This ensures the blinds will fit within the frame without binding or leaving gaps.
For outside mounts, measure the desired coverage area rather than just the window itself. This often includes extra width and height to block more light and enhance privacy. Be sure to factor in how far above and beyond the window frame you want the blinds to extend.
Many homeowners rely on window treatment services to handle measurements, but it’s still helpful to understand the process. According to HomeAdvisor, installing blinds usually takes 30 minutes to two hours for each window. Accurate measurements help keep the installation within this timeframe and prevent costly adjustments or replacements.
It’s also a good idea to label each set of measurements clearly, especially if you’re working with multiple windows. Assigning names or numbers to each window helps avoid confusion during ordering and installation. This simple organizational step can make a significant difference in ensuring each blind is matched to the correct opening.
Preparing Window Surfaces for Installation Success
Once measurements are complete, the next step is preparing the window surfaces. Cleanliness is key—dust, dirt, and debris can interfere with mounting hardware and reduce the stability of the installation. Use a mild cleaner and a soft cloth to wipe down the window frame, sill, and surrounding wall area.
After cleaning, inspect the surface for any imperfections. Fill in holes or cracks with appropriate materials, and sand down rough areas to create a smooth, even surface. This step is especially important for older homes where wear and tear may be more noticeable.
Check that the mounting area is structurally sound. If you’re installing blinds on drywall, consider using anchors to provide additional support. For wood frames, ensure the material is not warped or weakened. Proper surface preparation helps ensure that your blinds remain secure over time.
If you’re working with professional window treatment services, they may handle some of this preparation for you. However, taking the initiative to prepare your windows ahead of time can streamline the process and reduce labor time, ultimately leading to a more efficient installation experience.
In addition, consider protecting nearby surfaces such as floors and furniture before installation begins. Laying down a drop cloth or moving items out of the way helps prevent accidental damage from tools or debris. This extra precaution keeps your space clean and minimizes post-installation cleanup.
Organizing Tools and Finalizing Installation Readiness
As you prepare for blind installation, shifting your focus from gathering tools to preparing your home for a professional team can make a significant difference. Instead of worrying about drills, levels, and hardware, take time to ensure the installation area is easily accessible. Clear furniture, remove fragile items, and create a workspace that allows installers to move efficiently and safely.
Reviewing your order details ahead of time is another important step. Confirm that the blinds you’ve selected match your window specifications, style preferences, and mounting choices. Having this information readily available helps installers verify everything quickly and reduces the chances of delays or miscommunication during the appointment.
It’s also helpful to communicate any specific concerns or preferences before installation day. Whether you have unique window features, pets in the home, or scheduling constraints, sharing these details in advance allows professionals to plan accordingly. Clear communication ensures the process runs smoothly and aligns with your expectations.
Working with experienced window treatment services means you can rely on trained professionals to handle measurements, mounting, and adjustments with precision. Their expertise helps avoid common installation challenges while ensuring your blinds are installed securely and function properly from day one.
Finally, take a few moments to prepare the environment for a seamless visit. Ensure there is adequate lighting, easy access to windows, and available parking if needed. These small considerations help professionals complete the job efficiently, allowing you to enjoy beautifully installed blinds without the stress of managing the process yourself.
Properly preparing your windows for blind installation is a step that should never be overlooked. From assessing your window space to ensuring accurate measurements and clean surfaces, each stage plays a vital role in the success of your project. By taking a proactive approach, you can avoid common pitfalls and achieve a result that enhances both the look and functionality of your home.
Preparation is the key to a smooth and efficient process. With the right groundwork in place, your blinds will not only fit perfectly but also provide lasting value in terms of comfort, privacy, and style. Upgrade your space with confidence—contact Professional Window Treatments today to explore custom solutions and expert window treatment services tailored to your home. Let us help you achieve a seamless look with blinds that fit and function perfectly.


Share On: